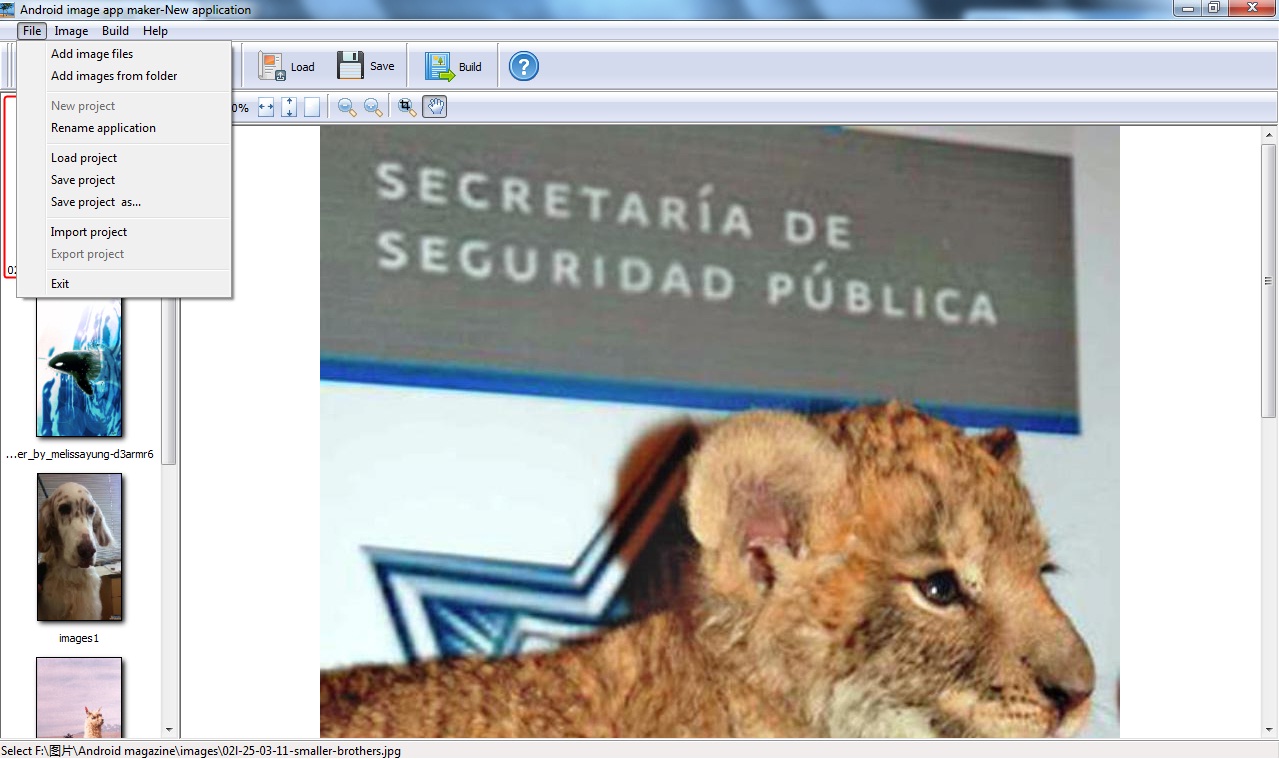
<1> Add image files: import pictures.
<2> Add images from folder: import a folder of images.
<3> Set interface: Set the application icon and show thumbnail or not.
<4> New project: Clear images and (Current editing magazine will be removed).
<5> Rename application: rename current editing application.
<6> Load project: Load the exported XML file to continue editing.
<7> Save project: save all the current setups as a XML file so that load it to continue easily next time.
<8> Save project as ...: save and rename the XML file.
<9> Import project: Import the project from to continue editing.
<10> Export project: export the editing magazine as amp of project different computers editing.
<13> Exit: exit Android image app maker.
2 Image

<1> Select all: select all the left pages in the list.
<2> Move first: click any page to select it and then move it as the first.
<3> Move up: move any page upward to sort magazine pages.
<4> Move down: move any page downward to sort pages.
<5> Move last: move the selected page to the last position.
<6> Remove: remove the selected page.
<7> Clear: clear all the pages.
3 Build

<1> Build magazine: build the edited magazine to Android app.
<2> Set android sdk path: if you encounter problem of zipalign when upload the output image app on Android market, you have to setup it.
4 Help
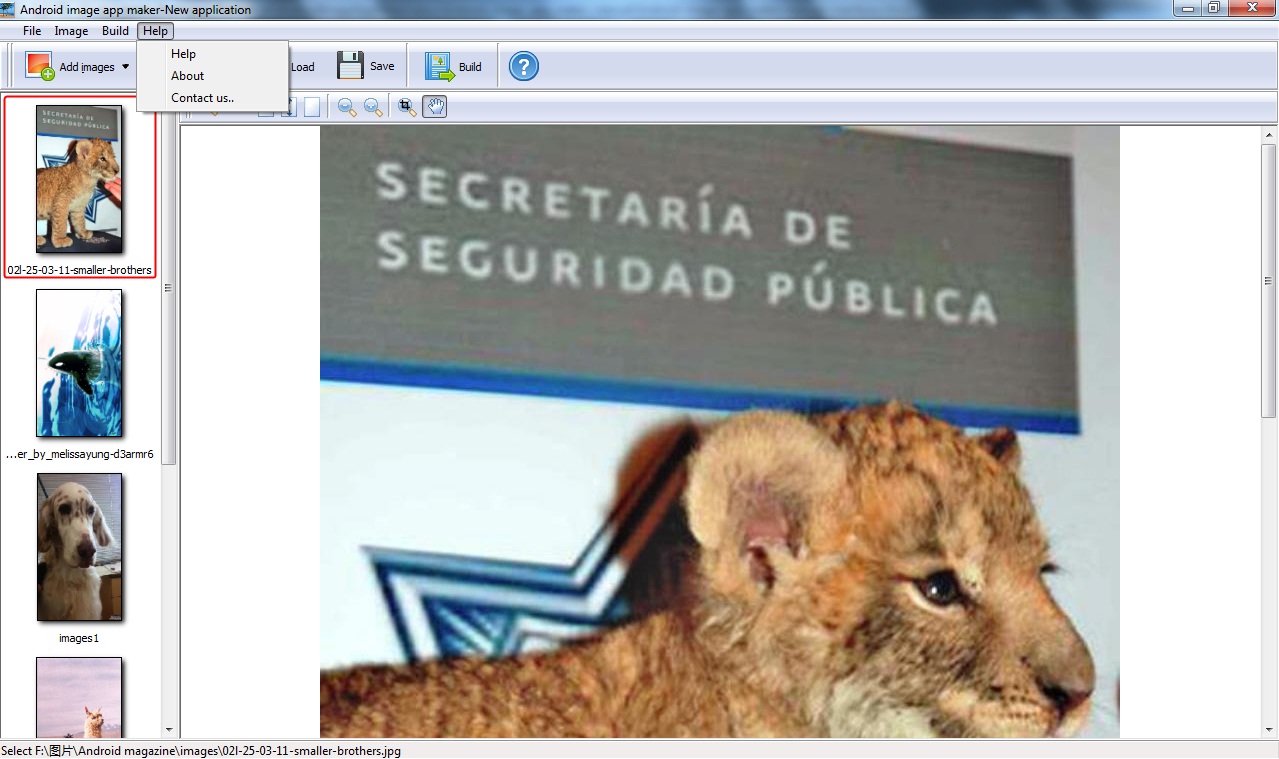
<1> Help: click it to view the Android image app maker manual.
<2> About: check version and license code.
<3> Contact us..: visit contact webpage to enquire or ask for help.